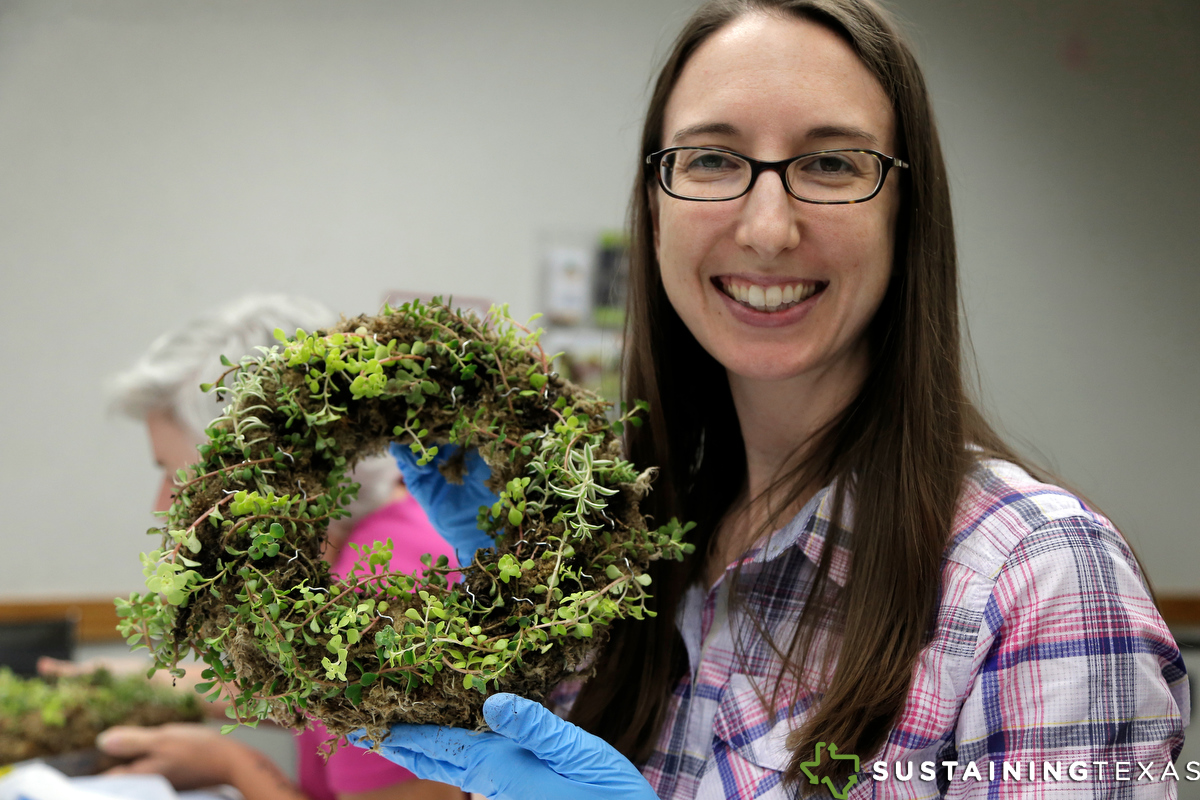
The Mansfield Public Library invited the Tarrant County Master Gardener Association to host a great adult program this week. The fun, free class taught residents how to make a living wreath in less than an hour.
What exactly is a living wreath? Well, it’s a wreath made of live plants. That’s about all I knew going in and was happy to learn creating one is easy. I review what you need to make your own and how to do it.
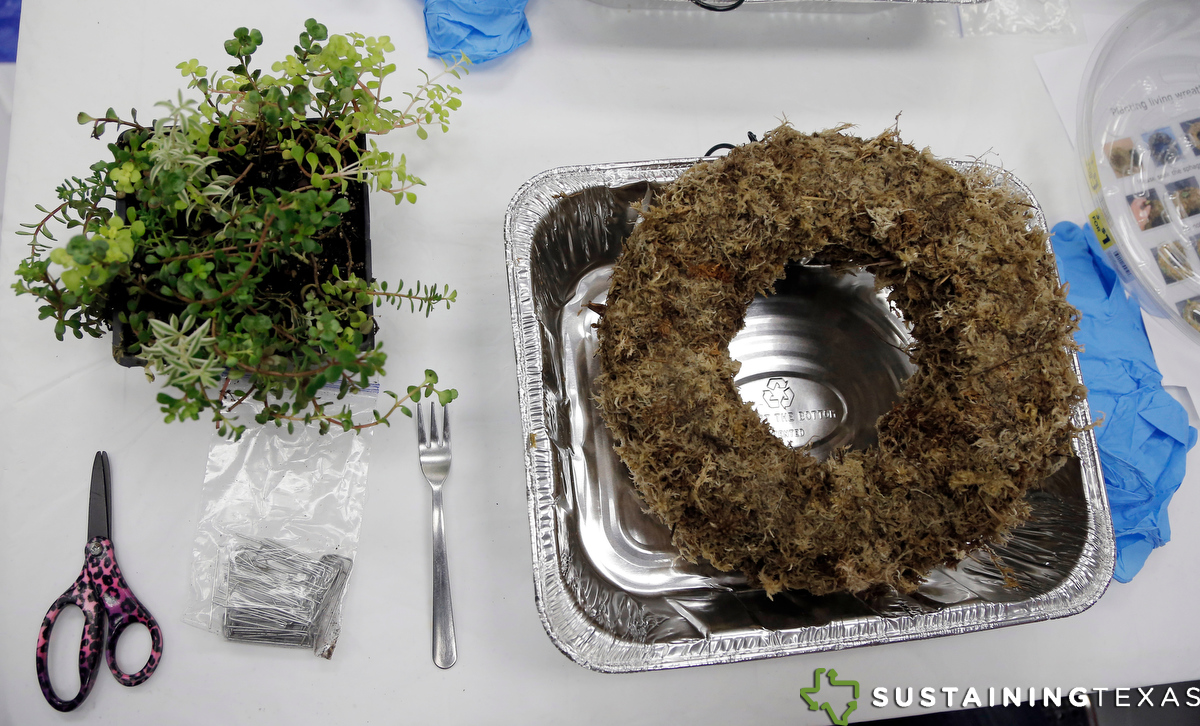
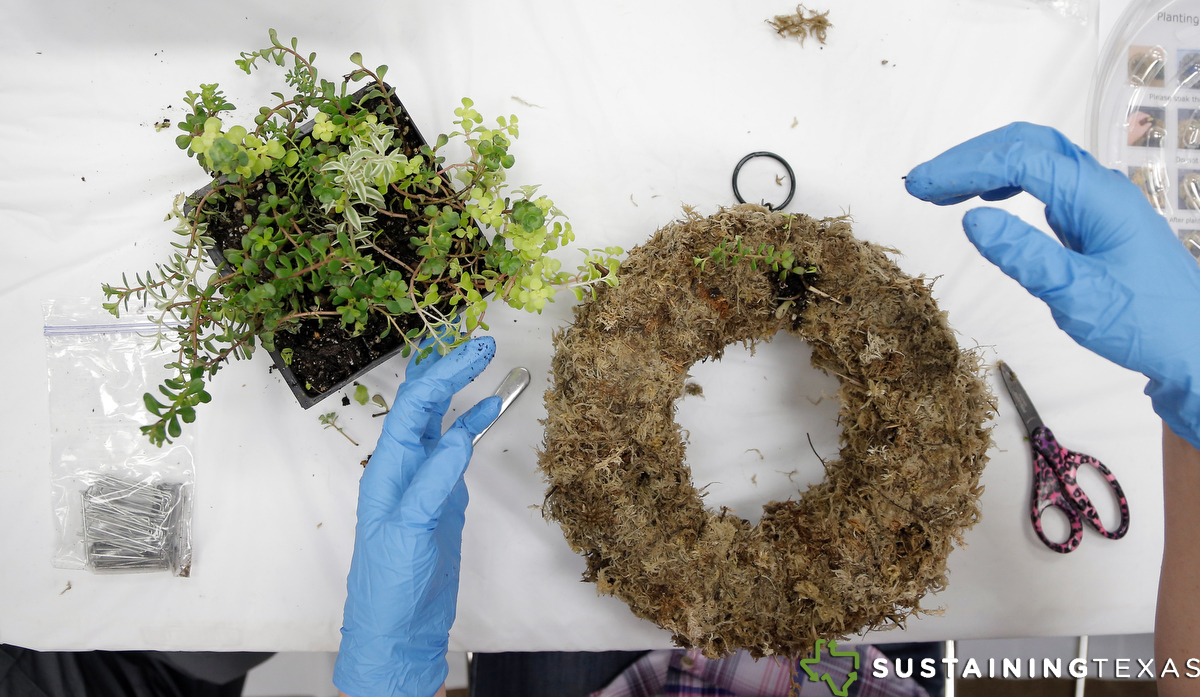
Supplies – What You’ll Need
- Living wreath form made of sphagnum moss. There are two options.
- Pre-made: You can buy one pre-made from a place like Topiary Art Works. We used a 9-inch one from this site in our class. The wreaths had a hook to hang on a door, as well as feet so the wreath could be placed on a table as a centerpiece.
- DIY: If you’re creating your own, you’ll need to purchase a wreath form, sheet moss and fishing wire. You’ll soak the moss first, pack it tightly in the form and secure it with the fishing wire. Then, you’ll be ready to go.
- Small plants in moist soil – We used sedums and succulents. The gardeners recommended plants from a 6-pack or 9-pack, but if you have a larger wreath with greater depth, you could always try for bigger plants. Each participant at the library class received a 9-pack of plants for their living wreath.
- Floral pins – These help keep the plants in place, as well as train them where you want them to go.
- Scissors – To help you “dig a hole” in the wreath for the plant roots.
- Cocktail fork – To help you get the plants out of the container, as well as help you create a hole for the plant roots.
- Pencil (optional)
- Gloves
- A workplace that can get dirty – They put a tablecloth over the tables for easy cleaning.
Preparation
The master gardeners soaked our wreaths for 24 hours, so we would be planting the succulents and sedums into a moist medium. This is a very important step that you do not want to skip. If your wreath is dry, you run the risk of the transplants’ roots drying out, which will cause the plants to die. After the gardeners soaked the wreaths, they let them drain for 24 hours, so they would not be dripping when we were working with the wreaths to create our living masterpieces.
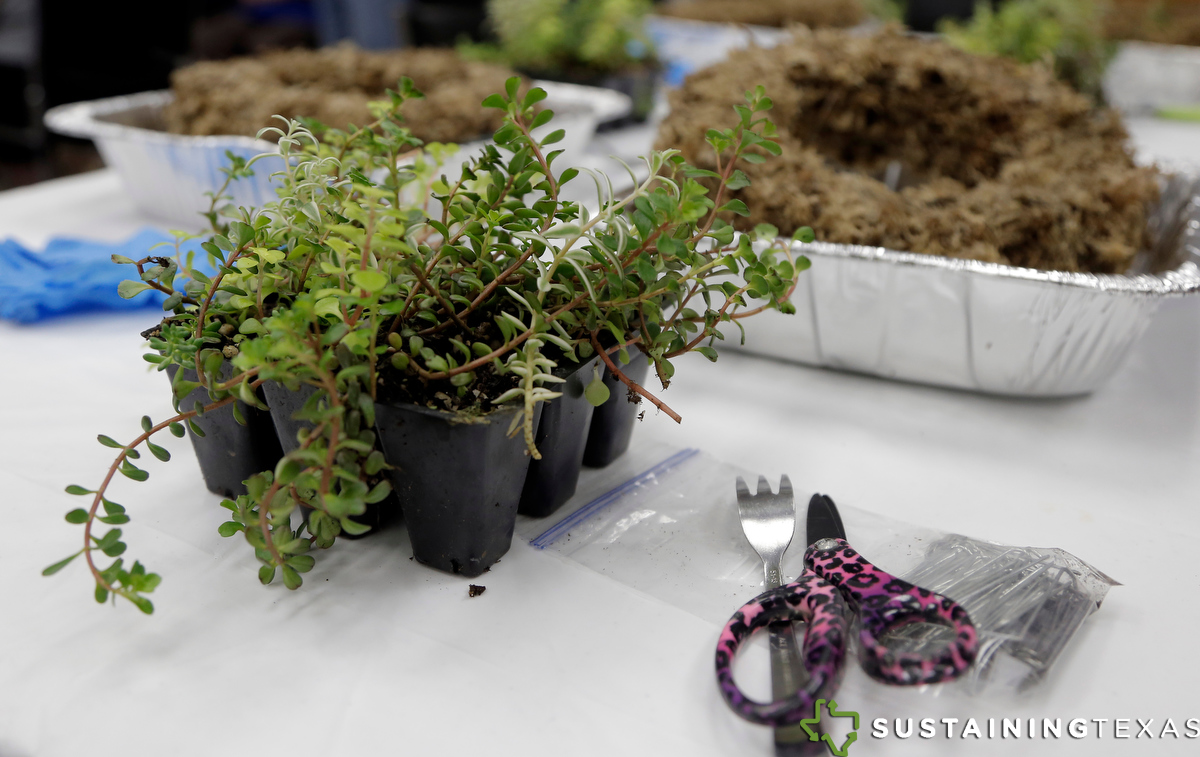
Since the master gardeners were teaching many people to make wreaths, about two months before the class the master gardeners purchased 4-inch pots of different sedums and succulents. Then, they separated the plants into smaller clumps to make them more manageable for us and give us more variety. We each had a 9-pack of plants to work into our wreath.
Instructions
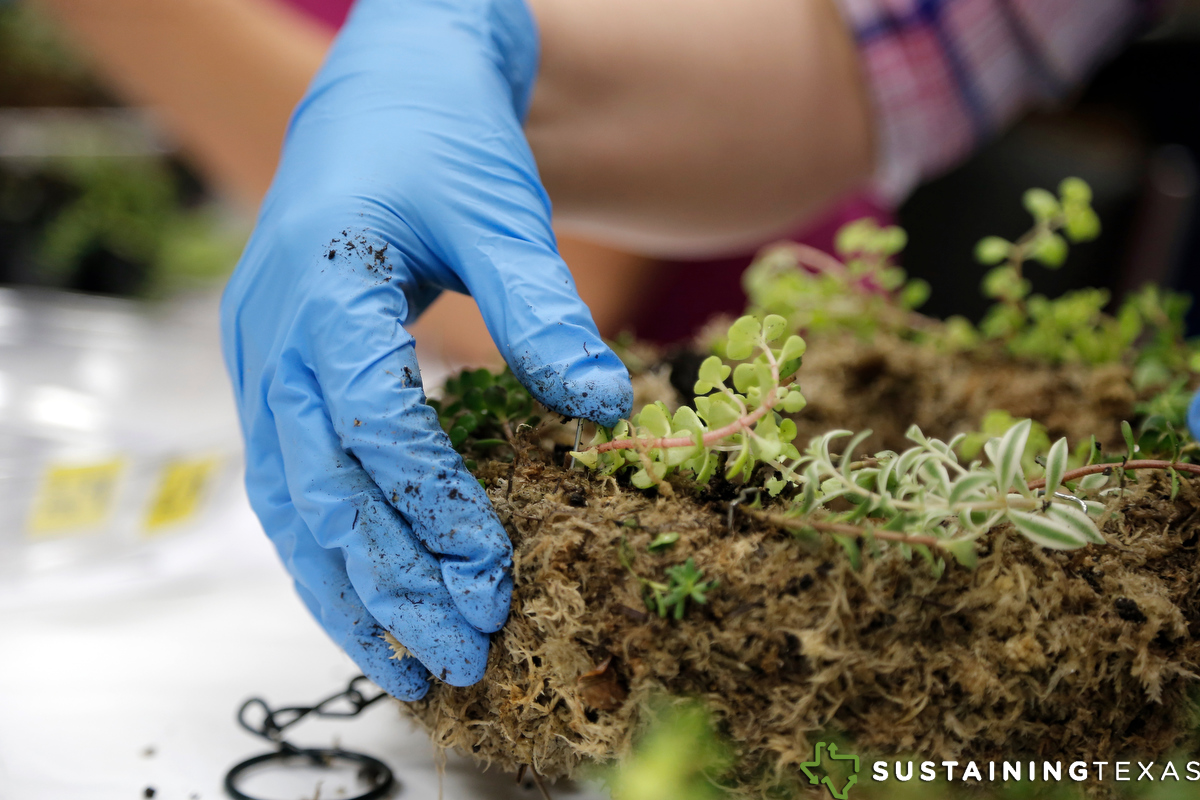
To start, I used the handle end of the fork and/or the scissors to create a hole in the wreath. You don’t want the hole to go through the wreath but you do want it as deep as your roots, if you can manage it. The pre-made wreaths were dense, so this was tougher than anticipated but doable.
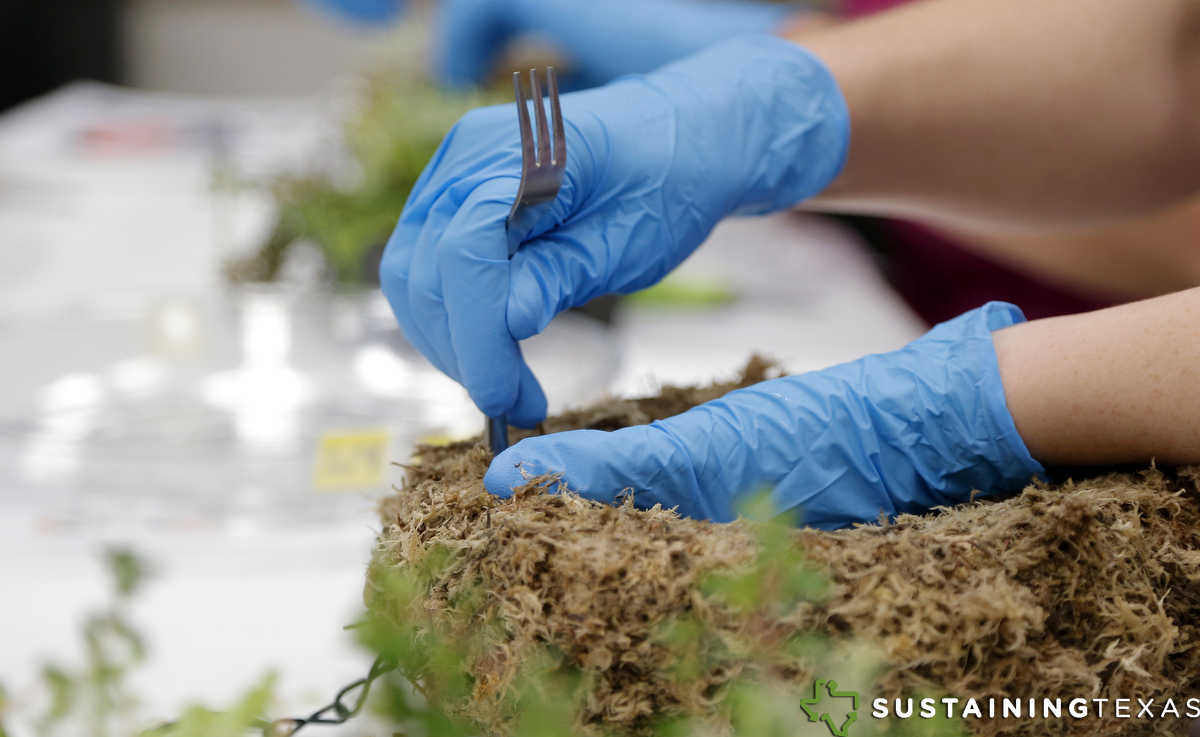
Then, with the assistance of the fork’s points, I removed one of the succulents from the 9-pack and teased off the excess dirt. You don’t want the root to be completely devoid of soil, but keeping too much on will make it harder to put in the wreath.
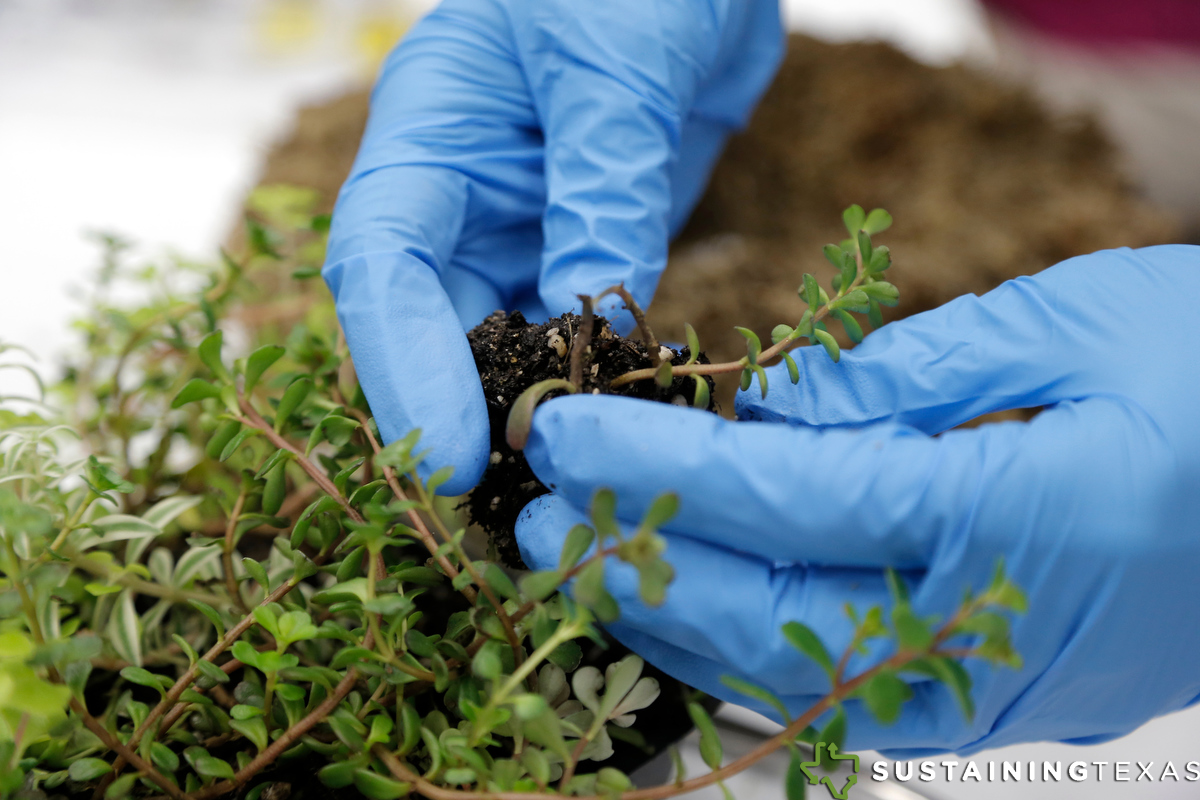
Then, I gently (and sometimes not so gently) pushed the roots into the holes using my finger. One gardener recommend using a pencil for this part. A couple of stems might have snapped in the process, but I just kept going. These plants are tough.
After inserting a plant, I used a floral pin or two to help keep the plant in place. This also allowed me to secure the stems to the wreath to fill in empty places. Use them as sparingly or liberally as you wish.
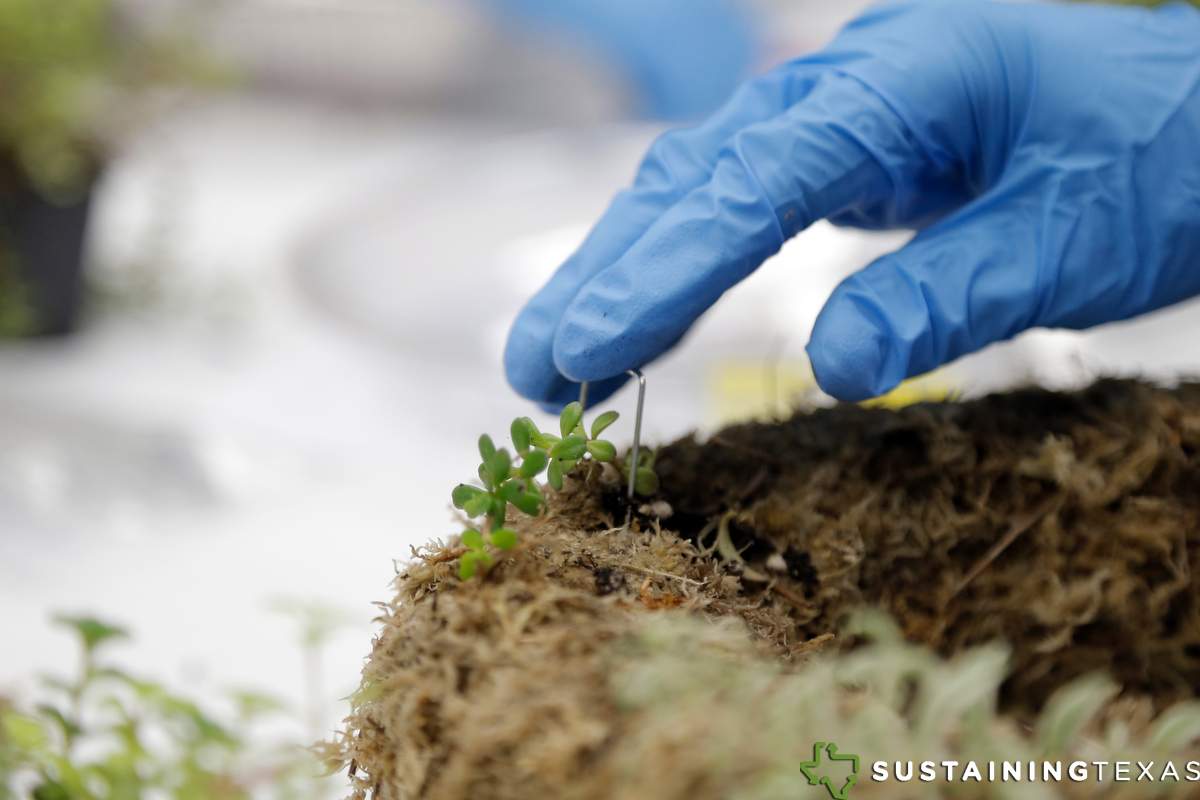
Here’s what it looked like after inserting one plant – a little lonely but more joined it.
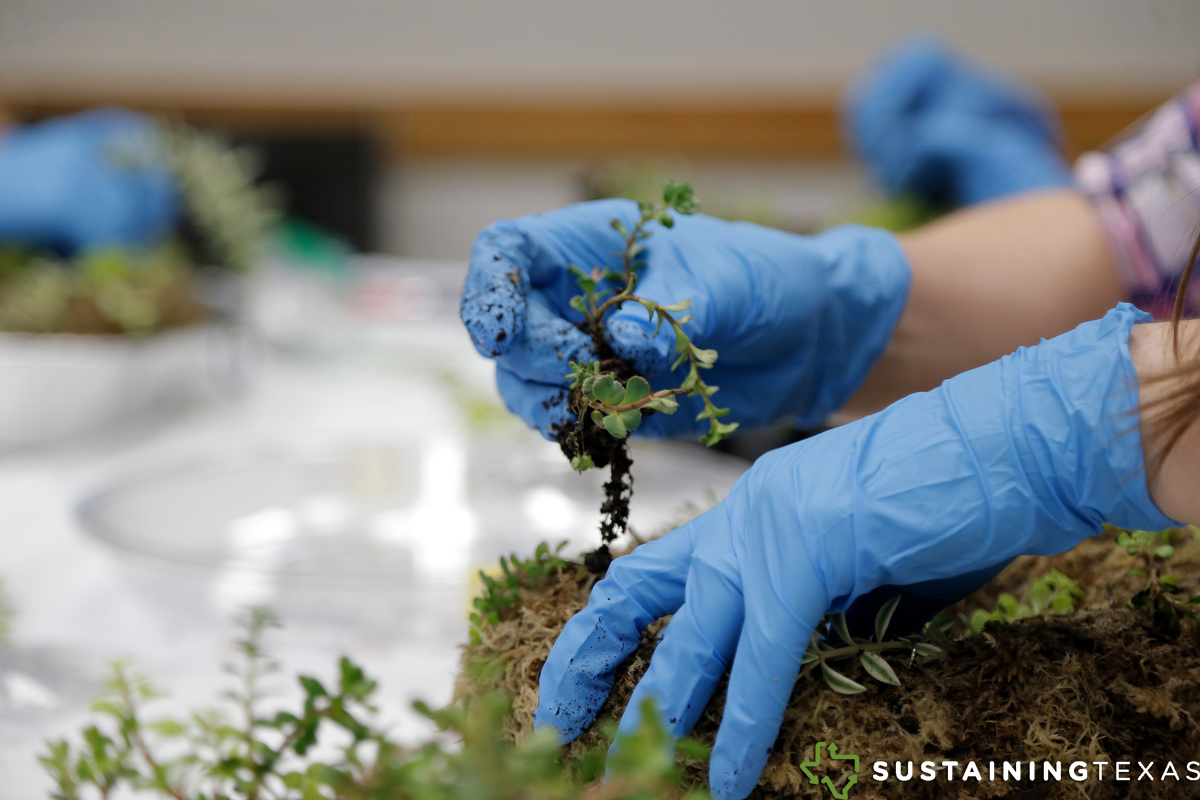
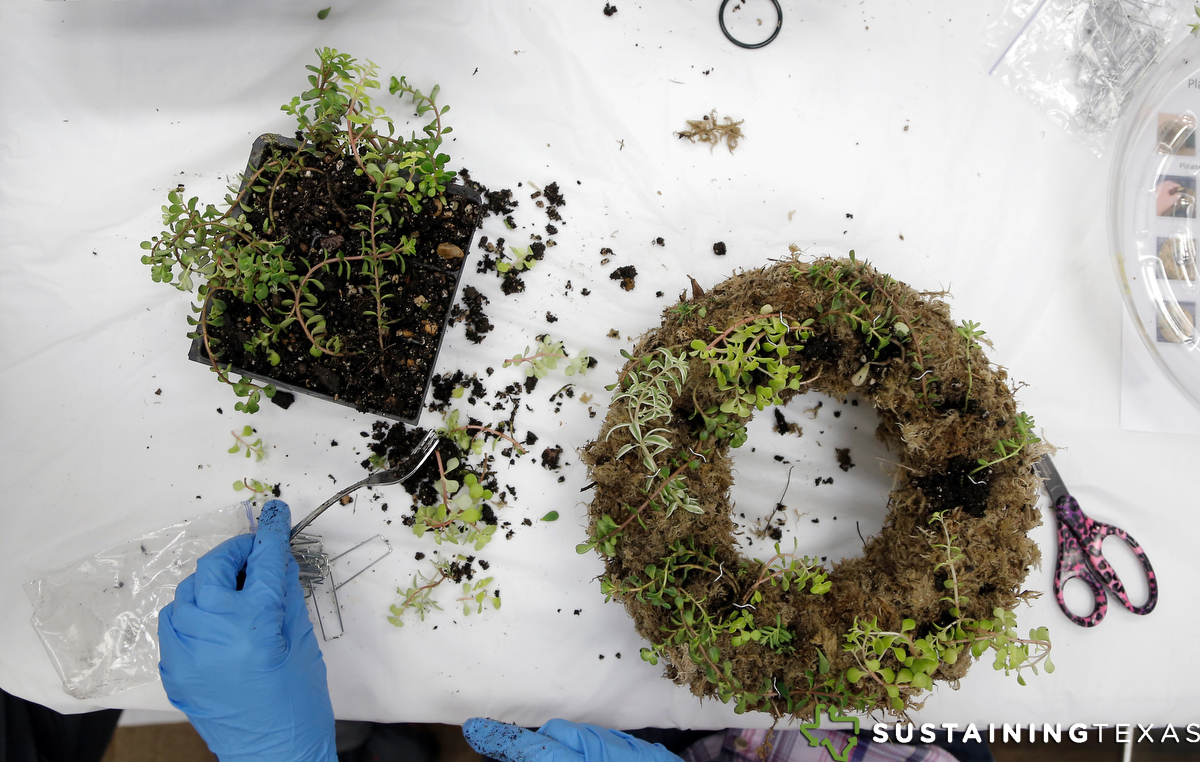
Then, I started the process all over again. To help keep the wreath balanced, I created holes every third of the way around the wreath, as advised by Master Gardener Nancy Curl, and filled in the wreath based on this approach. But there is no wrong way to do it; you could start at the top and work your way around.
Here are more photos of the process:
Once you’re done, you can lightly mist the wreath if you feel compelled; however, the soil in the 9-pack was wet and the wreath was soaked so I didn’t worry about it.
I was pleased with how my living wreath came out. The best part was not having to do any research, planning or prep work. 🙂 Pro tip: Always keep an eye on activities at your local library.
Even though I’ll have to put in more work for the next one, it’s probably something I’ll attempt again in the future, especially since I learned you can buy pre-made forms. I wasn’t sure what to expect or where I would event start the process of creating a living wreath before attending this class, but it was fun and something different to do.
Care
Along with our wreaths, the Tarrant County Master Gardeners provided 10-inch plastic saucers. We were told we could either water the wreath like you would a plant and pour H2O on top, or we could put water in the tray and let the wreath soak it up. The handout instructions said to mist occasionally and water only when the wreath is dry. After 2.5 days outside on the patio with highs in the upper 80s, the wreath is still quite damp.
The succulents and sedums in our wreaths like bright, indirect light, so my wreath is currently on my covered patio that faces southeast. It’s a beautiful centerpiece on the table out there and I’m sure will look even better in a few weeks.
Inspiration & Helpful Resources
This was an easy and fun thing to do, and living wreaths don’t need to be limited to succulents and sedums. Any plant can be used!
The gardener leading our class, Nancy, had purchased some “rescue plants” from the clearance rack at Lowe’s and created a colorful wreath of petunias about two weeks before our class. Another wreath she recently made had sprouting lettuce seedlings. She brought and recommends the following book if you need more assistance to get your creative juices flowing: The Living Wreath by Teddy Colbert. I found another one, Living Wreaths by Natalie Bernhisel-Robinson, that looks promising.
If you have any questions about plant care, reach out to your local Texas A&M AgriLife Extension Service. The organization has 250 county offices and 900 professional educators across the state to be able to deliver expertise and help to every Texas resident.
The Tarrant County Master Gardeners help the AgriLife Extension office as volunteers. They undergo many hours of training to earn the title “Master Gardener” and then give back to the community by volunteering at least 50 hours a year by teaching educational classes like this living wreath one, as well as work a help hotline Monday through Friday. Tarrant County residents can call the Master Gardener Hotline at 817-884-1944 or email a question/photo to mgtarrant@tamu.edu.
Have fun making your wreath! Use the contact page to share a picture with us.